
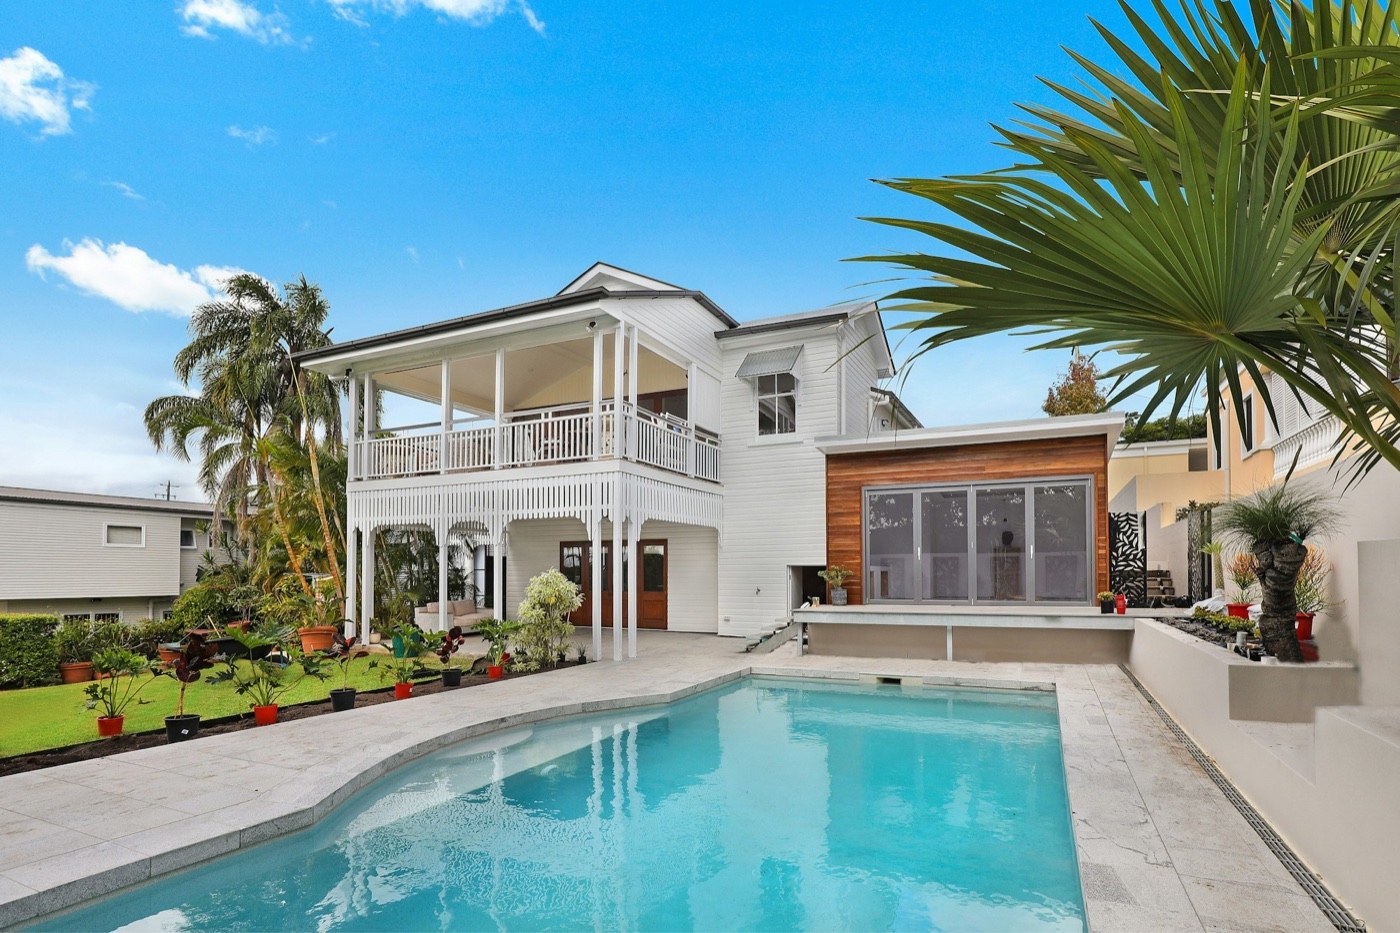
A pool construction schedule is a list of phases in a fixed order, with a gate between most of them. An inspector has to pass the work, the concrete has to cure, or the weather has to hold before the next crew can start. This guide walks through the phases of a gunite pool build in order, what each one waits on, how long builders and manufacturers say each takes, and how fiberglass and vinyl liner builds differ.
It is written for pool builders and owner-operators who run the schedule themselves. The durations below come from named sources, and they vary by region, soil, weather and inspection backlog. Treat them as ranges to plan around, and trust your own job history first.
PoolStack publishes this blog. We make software for pool companies, so the pool construction timeline is something we work on every day.
What are the phases of pool construction, in order?
A concrete pool, shot as gunite or shotcrete, usually runs in the order below. Builders name the phases a little differently, but the sequence is much the same across the builder, manufacturer and building department pages we read.
| Phase | What it waits on | What it unlocks |
|---|---|---|
| Excavation | Permit issued, utilities marked, access cleared | Steel and rough-in |
| Steel, plumbing and electrical rough-in | A finished dig that holds its shape | The inspection before the shell |
| Shell | A passed pre-gunite or steel inspection | The cure, then tile and coping |
| Tile, coping and decking | A cured shell, and a pre-deck inspection where one is required | Equipment set and the pre-plaster inspection |
| Plaster or interior finish | A passed pre-plaster inspection and dry weather | Fill and startup |
| Startup and final | A full pool and working equipment | Final inspection and handover |
- Permits and pre-construction. The design is final, engineering is done where it is required, permits are issued and utilities are marked.
- Layout and excavation. The pool is staked out, then dug. Spoils are hauled off or kept for backfill and grading.
- Steel. The rebar cage is tied to the engineered plan.
- Plumbing and electrical rough-in. Pipes, main drains, skimmers, returns, light niches, conduit and bonding go in. The plumbing is put under a pressure test.
- Shell. Gunite or shotcrete is shot over the steel and shaped. Then it cures.
- Tile and coping. Waterline tile and coping go on the top of the shell.
- Decking. Forms, deck steel and drains, then the pour or the pavers.
- Equipment set. Pump, filter, heater, automation and sanitizer are set, plumbed and wired. Gas and final electrical are completed.
- Plaster or interior finish. Plaster, quartz or pebble goes on, and the pool is usually filled right after.
- Startup. The water is balanced, the finish is brushed, the equipment is checked and the homeowner gets a walkthrough.
Which inspections gate a pool build?
Inspections are the hard stops. You cannot shoot the shell or plaster the pool until the inspector has passed what is underneath, and the list differs from one building department to the next. Get yours in writing before you build the schedule.
Permit Sonoma, the building department for Sonoma County, California, publishes a clear example. For a gunite pool it lists four inspections.
- Pre-gunite. The pool is excavated, the steel is in place and tied, bonding and rough electrical are complete, and the plumbing is in place and under test.
- Pre-deck. Required for pool decks built on grade.
- Pre-plaster. The gunite is complete, the equipment is installed, grounded and bonded, and one of the required safety features is installed.
- Final. The pool is complete, with all equipment and the required GFI outlets installed.
For a fiberglass pool, Permit Sonoma lists three: an excavation inspection before the shell goes in, a pre-deck inspection and a final.
Barrier rules differ from one department to the next, so ask your own when the fence, the gates and the alarms are checked.
A failed inspection means a re-inspection. Put both on the schedule as jobs with dates. A note in the margin does not move the plaster crew.
How long do the shell and the plaster need to cure?
Cure time is the gate no crew can speed up, and the sources do not agree on one number. The American Shotcrete Association says concrete applied as shotcrete needs to cure for seven days, and that water is the best curing method. In a separate answer about tiling, the American Shotcrete Association says it is generally good practice to let shotcrete cure for the full 28 days before applying coatings or overlays, and to get the cure time from the maker of the product going on. River Pools, a fiberglass pool manufacturer that also describes concrete builds, lists a 28 day cure as its own phase. Anthony and Sylvan Pools, a builder, says the concrete cures for an average of 7 to 10 days before work can continue, and that it may take up to four weeks to cure adequately.
So plan the cure as a range. Practice varies on what runs during the cure, and on whether tile and coping can start before it ends. The instructions from your shell contractor, and from the makers of your setting materials and your plaster, govern.
Plaster has its own clock. River Pools lists plaster as a one day job. The care that follows runs much longer. A March 2024 guide in Pool and Spa Marketing, a trade magazine, treats days 1 through 28 after plastering as the start-up period. That Pool and Spa Marketing guide calls for brushing twice a day until the plaster dust is gone, and puts adding salt at day 29. Finish manufacturers publish their own start-up steps, and those are the ones to follow.
On the schedule, startup is where the build hands the pool to service. Book the start-up visits as real jobs with a named tech. A pool plastered on Friday with nobody booked to brush it over the weekend is a problem waiting to happen.
How long does it take to build a gunite pool?
Published estimates are far apart, which tells you how much the answer depends on where you build.
- Latham, a pool manufacturer, puts a gunite pool at around six to eight weeks.
- Anthony and Sylvan Pools gives 8 to 10 weeks as the fastest case and 8 to 16 weeks as a more realistic average.
- River Pools puts a concrete pool at three to six months.
Permits are a separate wait. Anthony and Sylvan Pools says permit approval typically takes two to four weeks.
Phase by phase, River Pools gives these ranges for a concrete pool: excavation in several hours to two days, steel in one to two days, plumbing in one to two days, the shell in one to two days, tile and coping in three days to two weeks, the patio in one to two weeks, and plaster in one day. Every one of these numbers varies by region, soil, weather and inspection backlog. Use them as a starting point. Then replace them with your own averages by crew and by season.
How are fiberglass and vinyl liner pool builds different?
The two ends look the same: permit and dig at the start, deck and startup at the finish. The middle is different because the shell arrives built or goes up as panels, so there is no long cure to wait out.
Fiberglass. River Pools lists the steps as excavation, setting and leveling the shell, plumbing, backfilling, then the coping, the patio and the fence. River Pools puts the excavation at three hours to a day and a half. River Pools says the shell is usually installed and full of water, with the plumbing done, by the end of day two or three, and gives three to six weeks for a typical project from start to finish. Latham says the timeline for a fiberglass pool could be as little as three days after delivery. The gates change too. The delivery date, access for the crane or excavator, and an excavation inspection where the department asks for one all sit ahead of the set.
Vinyl liner. River Pools lists the dig, wall panel assembly, a concrete footing around the panels, plumbing, the pool base, the liner, then the patio and startup. River Pools gives one day for the panels, half a day for the footing, one to two days for the base and one day for the liner, and four to eight weeks overall. Latham says two to four weeks. A liner has to be ordered, so the order date and the lead time belong on the schedule next to the dig.
What delays a pool construction timeline?
Most delays come from a short list. None of them can be removed, but all of them can be planned for.
- Weather. Rain stops the dig, the shell and the deck pour. Cold or wet days push plaster.
- Permits and inspections. A slow review or a failed inspection holds every job behind it.
- Rock and groundwater. Rock that needs a hammer, or water coming into the dig, adds days nobody planned.
- Changes after the dig. A new feature or a material swap resets orders and crews. Write it up as a change order that states its effect on the schedule.
- Materials and equipment. Tile, coping, liners and equipment wait on deliveries.
- Subs. A crew held up on another job holds up yours.
- Unpaid draws. A builder may pause work until a draw that is due has been paid.
The same list works in reverse. Anthony and Sylvan Pools lists getting permits and approvals early, building in the fall, choosing a simpler design, ordering materials ahead and avoiding change orders as ways to shorten a build.
How to lay out the schedule so every job shows what it waits on
A list of dates breaks the first time it rains. A schedule built on links is easier to put right, because every job shows what it waits on. This is how builders set that up.
- Start from a template. A new build, a remodel and a replaster each have their own phases. Save each one so you never start from a blank page.
- Put jobs under phases. Shell is a phase. Shooting, stripping forms and water curing are jobs under it.
- Link each job to the one it waits on. Plaster waits on the pre-plaster inspection. The inspection waits on equipment set and bonding. When the first one slips, you can see everything behind it.
- Schedule the gates as jobs. Inspections, re-inspections, cure time and deliveries all take calendar days, so give them their own bars.
- Order long-lead items backward from the day they are needed. Tile, coping, liners, fiberglass shells and automation are the usual ones.
- Keep weather days visible. Log the lost day and the reason, so the homeowner and the next sub can see why dates moved.
- Look at it more than one way. The Gantt shows the chain. A week view shows who is where on Tuesday.
In PoolStack, the whole build sits on one Gantt chart with phases and the jobs under them, and you set a dependency by linking a job to the one it waits on. You can switch between the Gantt, a week and a month. A new build, a remodel or a replaster each starts from its own template of phases. Permits and inspections sit on the same build with their dates and results, and the daily log records the weather, site access and any delay.
What should the homeowner see?
Homeowners do not need the Gantt. They need to know which phase the build is in, what comes next, and why nothing happened this week. Tell them at the start that cure time and inspections make quiet days. Send a short update with photos at the end of each phase.
PoolStack gives homeowners a portal that shows where the build stands phase by phase, with the updates and photos you choose to publish. Your daily log stays internal.
A quick check before you send the schedule
- Every inspection your department requires is on the schedule as its own job.
- Cure time is shown as a bar, and you know whose number you used.
- Every job after excavation is linked to what it waits on.
- Long-lead orders have an order-by date.
- Start-up visits are booked with a named tech.
- The draw schedule matches the phases, so a finished phase and a bill line up.
- The homeowner has been told which weeks will look quiet.
A schedule like this takes longer to build than a list of dates. It pays that time back the first time a phase slips. PoolStack is $79 a month, all access, with pool construction and weekly service in the same system. Early adopters lock that rate for life.